Cycling HAPPENINGS May 2019 |
Article courtesy of Rim Tours Mountain Bike Adventures 1233 S. Hwy 191, 435-259-5223 |
Front Wheel Lifts
or |
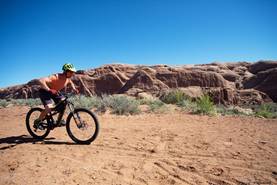
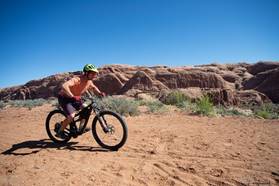
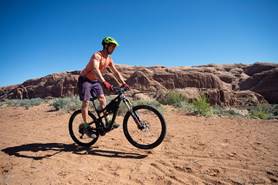
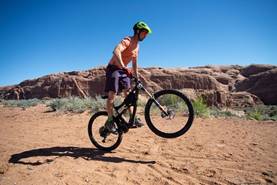
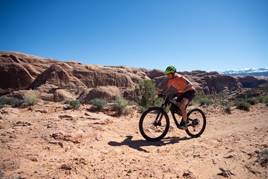
Mountain biking in Moab could be described in one word: rocky. Whether they are smooth or chunky, sloped or ledgy, our terrain is pretty much the rockiest stuff out there. Navigating all these rocks can be a challenge if you are new to it, but with a couple small tricks in your kit, you can smooth out the terrain with ease. By far my favorite skills, and quintessential to Moab riding, are the ‘Front wheel lifts.’ These simple foundational skills are a more subtle and subdued version of the ‘Manual’ and ‘Wheelie’ that you may remember from childhood or have seen performed by a daredevil in some internet video (or by me pretty much constantly on trail). By loading your bike’s suspension and utilizing the bike’s springs you can lift your front wheel up over a rock or obstacle, avoid smashing into the rocks and begin to smooth out the trail. I will discuss two different techniques, one for downhill and one for climbing. The Basic Front Wheel Lift The Basic Front Wheel Lift is used when you are coasting downhill. Standing with your pedals level in a tall, Ready Position, drop your hips and torso straight down and stomp into the pedals to compress your suspension. This is called “preloading.” Then, explode back up and allow your front wheel to lift off the ground.
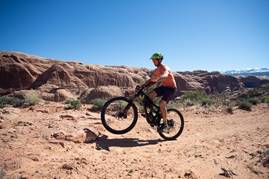
I use this technique constantly — to lift my tire onto rocks, span small holes, and, generally, to feel the flow of the trail. Practice is key so use it often and everywhere! The Pedaling Front Wheel Lift The second variety is a Pedaling Front Wheel Lift, which is used when seated and pedaling uphill. This technique is especially key to success on technical, ledgy trails such as Captain Ahab or Gold Bar Rim. Sometimes called a “quarter-turn punch,” getting the timing just right mid-pedal stroke is the most difficult part, so it is helpful to make it an isolated maneuver at first. While seated, with your seatpost up, bring a pedal to just past top-dead center (or about 1 O’clock if viewed from the right-hand side of the bike.) Lean your chest towards the bars to preload, and in a single movement punch the pedals, extend your arms, and lift your chest up. This should lift your front wheel off the ground and over that square-edged rock.
I hope you can integrate these skills into your riding, and if you would like to get pointers in person, come ride with us at Rim Tours. Most all our guides are certified Mountain Bike Instructors. Speaking from my own experience, it is truly one of my greatest passions to share these skills with our guests for a safer, more fun ride. |